
Cloudflare Tunnel (formerly known as Argo Tunnel) provides a secure way to connect your web server to the Cloudflare network without exposing it to the public internet. In this blog post, we’ll walk you through setting up a Cloudflare Tunnel using Docker Compose.
Prerequisites
Before we begin, make sure you have the following:
- A Cloudflare account with a domain already set up.
- Docker and Docker Compose installed on your server.
- Cloudflare Tunnel token. You can generate one from the Cloudflare dashboard.
Step 1: Create a Docker Compose File
Create a docker-compose.yml file in your preferred directory with the following content:
version: '3'

services:
  cloudflared:
    image: cloudflare/cloudflared:latest
    restart: unless-stopped
    command: tunnel --no-autoupdate run
    volumes:
      - ./cloudflared:/etc/cloudflared
    environment:
      - TUNNEL_TOKEN=<your_tunnel_token>
In this configuration:
- We use the
cloudflare/cloudflared:latestimage to run the Cloudflared service. - The service is set to restart automatically unless manually stopped.
- The
commandspecifies the command to run inside the container, which istunnel --no-autoupdate run. The--no-autoupdateflag prevents Cloudflared from automatically updating itself. - The
volumessection mounts a local directory (./cloudflared) to the container’s/etc/cloudflareddirectory, where we’ll place the configuration file and other necessary files. - The
environmentsection sets theTUNNEL_TOKENenvironment variable to your Cloudflare Tunnel token.
Here’s the updated process to get a Cloudflare Tunnel token using the Zero Trust dashboard, specifically under the Networks section:
- Log in to the Cloudflare Dashboard:
- Go to the Cloudflare Dashboard and log in with your account.
- Access the Zero Trust Dashboard:
- In the top menu, select Zero Trust.
- Navigate to Networks > Tunnels:
- In the Zero Trust dashboard, go to Networks on the left sidebar and then click on Tunnels.
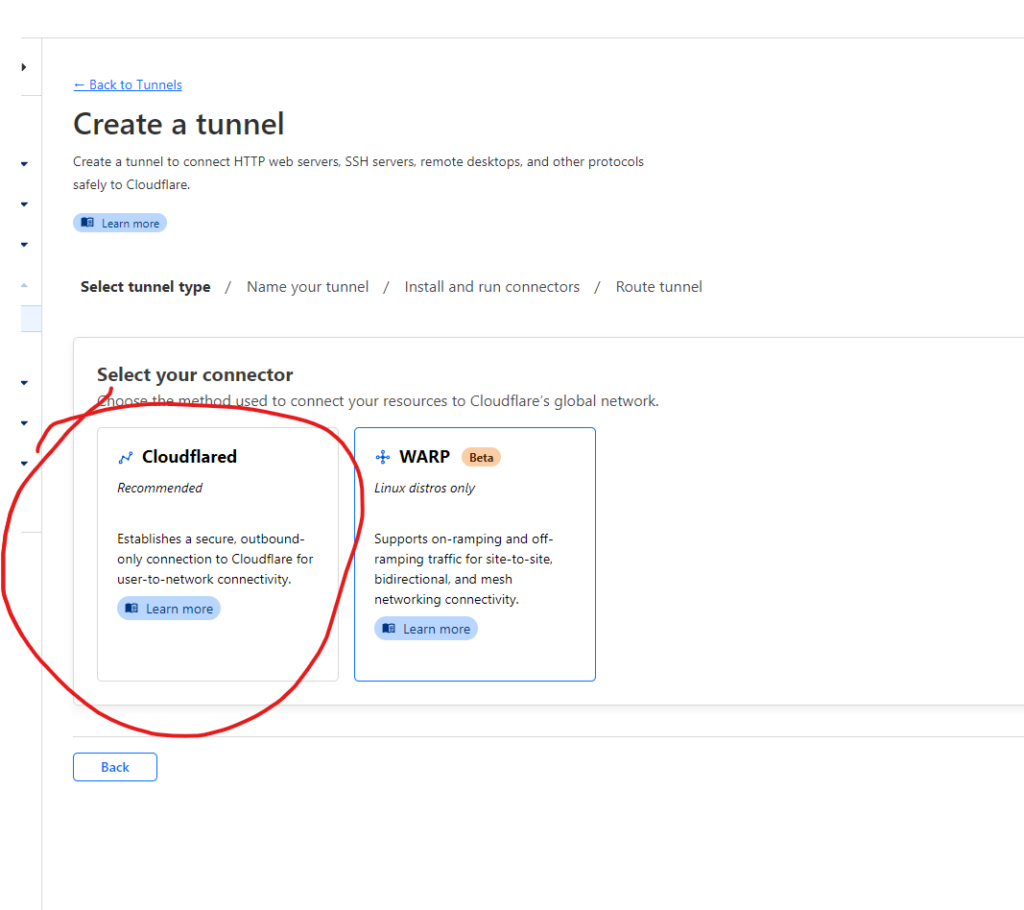
- Create a New Tunnel:
- Click on the Add a Tunnel button.
- Give your tunnel a name and click on Create.
- Follow the instructions to install
cloudflaredon your machine if you haven’t already.
- Run the command provided in the instructions to authenticate
cloudflaredwith your Cloudflare account. This command will open a browser window where you’ll need to log in and authorizecloudflared. - After successful authentication,
cloudflaredwill display a success message in the terminal.
- Authenticate
cloudflared:
- Download the Tunnel Credentials File:
- After authentication, Cloudflare will provide a link to download the tunnel credentials file (a
.jsonfile). Download this file to your machine. - This file contains the tunnel token and other necessary information for your tunnel to connect to Cloudflare’s network.
- Configure Your Tunnel:
- Use the tunnel credentials file in your
cloudflaredconfiguration (typically in aconfig.ymlfile) to establish the tunnel connection.
Here’s an example of how you might configure cloudflared using the tunnel credentials file:
tunnel: your-tunnel-id
credentials-file: /path/to/your-tunnel-id.json
ingress:
  - hostname: example.com
    service: http://localhost:8080
  - service: http_status:404
Replace your-tunnel-id, example.com, and /path/to/your-tunnel-id.json with your actual tunnel ID, domain, and path to the tunnel credentials file, respectively.
Once configured, you can start your tunnel using the cloudflared tunnel run command or integrate it into your Docker Compose setup as previously described.
Step 2: Create a Cloudflare Tunnel Configuration File
In the ./cloudflared directory, create a config.yml file with your Cloudflare Tunnel configuration:
tunnel: your-tunnel-id
credentials-file: /etc/cloudflared/your-tunnel-id.json
ingress:
  - hostname: example.com
    service: http://your-service:8080
  - service: http_status:404
Replace your-tunnel-id, example.com, and http://your-service:8080 with your actual tunnel ID, domain, and service URL, respectively.
Step 3: Start the Cloudflare Tunnel
Run the following command to start the Cloudflared service using Docker Compose:
docker-compose up -dThis command starts the Cloudflared service in the background.
Step 4: Verify the Tunnel
Once the service is running, you can verify that the tunnel is working by visiting your domain in a web browser. You should see your web service being served through the Cloudflare network.
Conclusion
Using Docker Compose to run Cloudflare Tunnel provides a convenient and scalable way to secure your web services. By following the steps outlined in this blog post, you can easily set up a Cloudflare Tunnel and enjoy the benefits of a secure, private connection to the Cloudflare network.
Remember to customize the configuration to fit your specific requirements and environment. Happy tunneling!
Leave a Reply